George Schuetz Director of Precision Gages
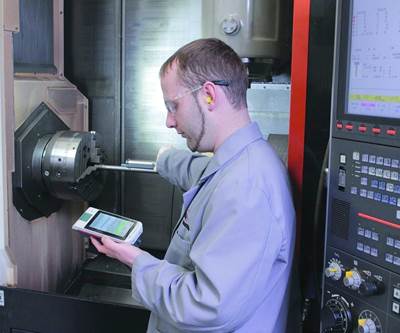
How to Get Form Measurements Right, Part 1: Recognize the Source of Errors
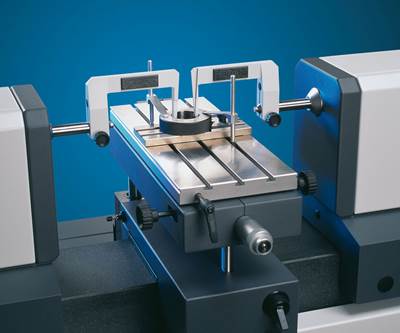
Recognize the source of setup errors.
Read MoreThe Art of Submicron Measurements
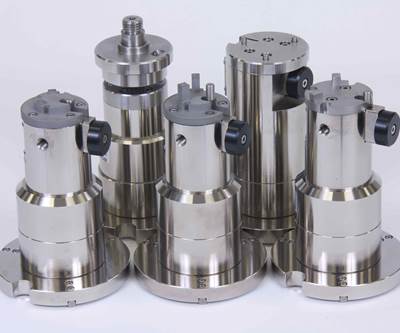
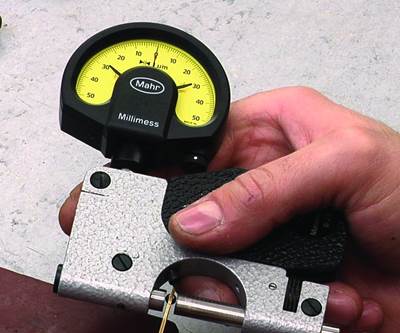
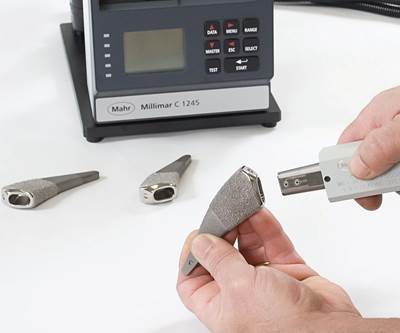
Special attention must be paid to the selection of the gage and readout as well as to mastering.
Read MoreFloat Your Air Plugs for Easy Part Alignment
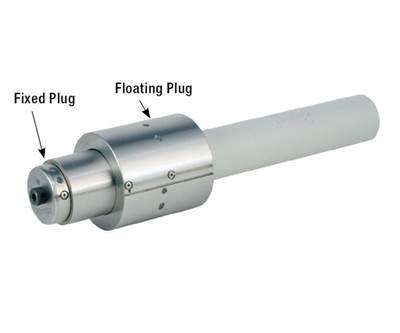
One way to design clearance forgiveness into an air plug is to enable some float.
Read MoreHow to Check Roundness Between Centers
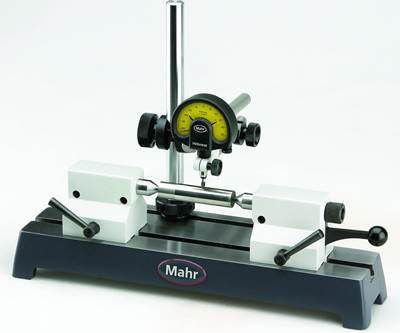
A centers-based method can be useful for checking for out-of-roundness without the need for a dedicated roundness machine.
Read MoreWhat to Know About Surface Finish Measurement
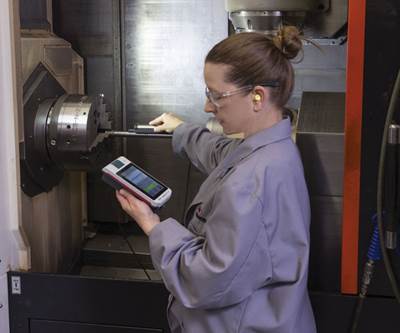
Texture is viewed differently by different manufacturing professionals, but the parameters for describing it are standard.
Read MoreA Checklist for Gaging Devices
Don’t assume your gage is correct just because it has a calibration sticker. If it hasn’t been in frequent use, follow a measurement checklist to make sure.
Read MoreHow Gaging Flexibility Saves Time and Effort
A gaging system that matches the way parts are made can save you both time and effort.
Read MoreHow to Choose the Right Bench Comparator Stand
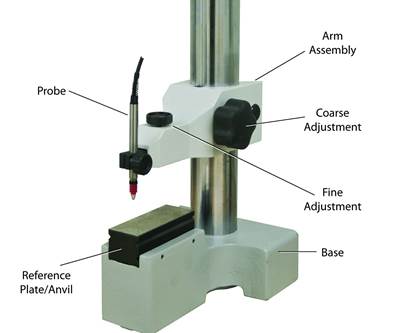
Understanding a comparator gage’s features and characteristics will help you choose the right one for your application.
Read MoreWhat to Know About Adjustable Bore Gages
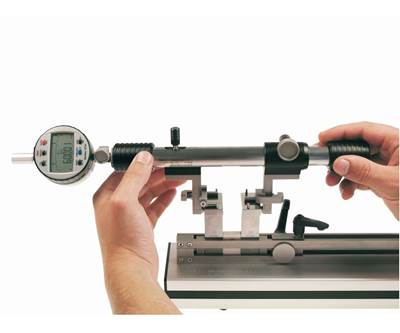
These comparative instruments must be set to the required nominal size, and there are a number of ways to do this.
Read MoreData Collection for Industry 4.0
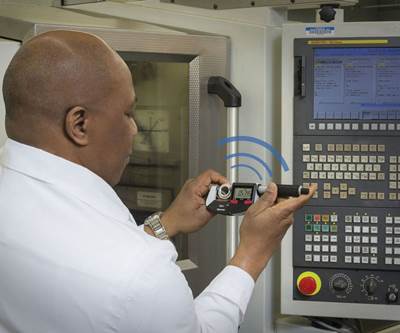
Wireless technology is moving onto the shop floor, and its integration in digital gaging is contributing to the next Industrial Revolution.
Read MoreWhat to Know About Roughness Average
Roughness average, the most commonly used parameter for surface finish, is a good starting point for quantifying parts when there is no parameter callout.
Read MoreWhat are the Benefits of Variable Gaging?
Although more expensive, gages are a better solution than measuring instruments for higher-volume production runs and tighter tolerances.
Read More